| Key takeaways |
|---|
| • Never attempt a tree near a house, power line, or fence. • Plan your escape route before you start the chainsaw, not after. • The notch and the hinge it creates determine where the tree falls. • Keep bystanders at a distance of at least twice the tree's height. |
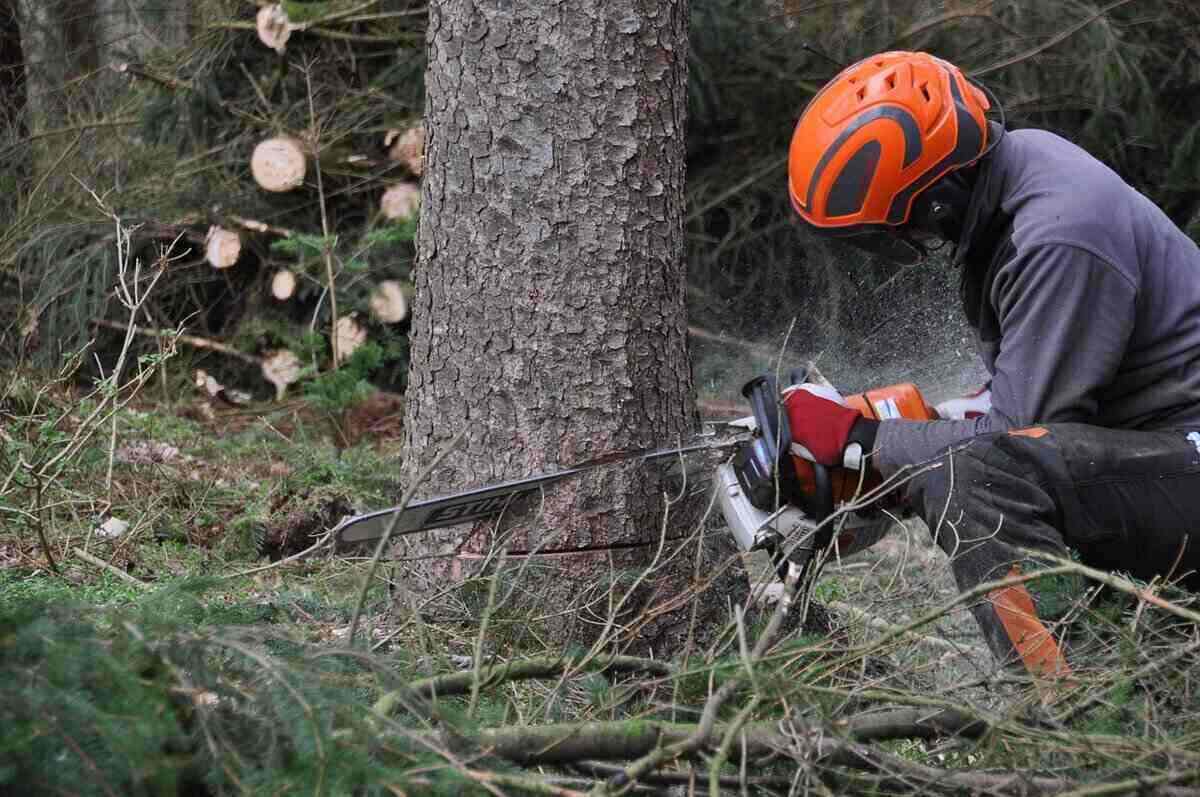
You can cut down a tree yourself if it’s healthy, not near structures or power lines, and you’re confident with a chainsaw. The technique involves cutting a directional notch on the fall side and then a felling cut from the opposite side, leaving a narrow hinge of wood to guide the fall.
That said, not every tree is a safe DIY job. Diseased or dead trees, trees near structures, and very large trees should be handled by a certified arborist. Chainsaw-related injuries sent 282,000 people to U.S. emergency rooms between 2010 and 2019, and tree felling is one of the most dangerous tasks a homeowner can attempt.
If you’ve assessed the risks and you’re ready to go, here’s exactly how to cut down a tree safely. Need it done without the risk? Lawn Love’s yard cleanup pros can handle it for you.
When to hire a pro instead
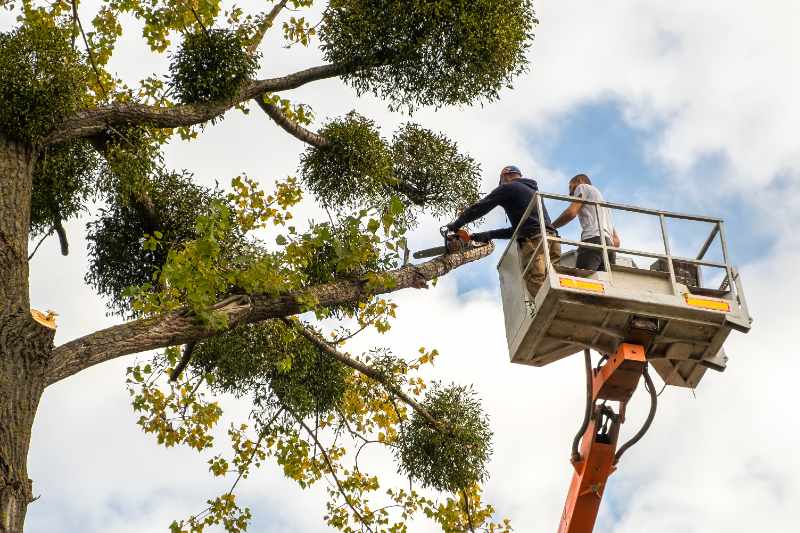
Tree felling carries a fatality rate of 110 per 100,000 workers for professional arborists, which is roughly 30 times the all-industry average. Research on tree-felling fatalities found that nonprofessional cutters account for the majority of deaths, and are far more likely to be working alone, with no one nearby if something goes wrong.
Steve Rice, owner at Lawn Kings, in Valencia, CA, says size is a major factor.
“Once you’re dealing with anything over about 12 to 16 inches in diameter or tall enough to hit structures, that’s where you should always bring in pros with rigging or lifts,” Rice says. “It’s not about confidence, it’s about control.”
Do not attempt DIY tree removal if any of these apply:
| Situation | DIY Safe? | Why |
| Tree near house, fence, or power lines | No | Unpredictable fall path; too close to structures |
| Dead or diseased tree | No | Weak wood fails without warning |
| Tree with multiple broken branches | No | Dead branches (“widow-makers”) fall as you cut |
| Tree on a steep slope | No | Unstable ground makes chainsaw control dangerous |
| Need the tree to fall against its lean | No | Requires professional rigging equipment |
| Other trees closely surrounding it | No | One tree falling can bring others down |
| You’re unfamiliar with chainsaw operation | No | Operating confidence is required for safety |
| Tree is very large | Hire recommended | Beyond most homeowner skill level |
If any of the above circumstances are true, you cannot safely remove the tree. Hire a certified arborist to remove the tree for you. Professional tree removal costs between $385 and $1,070 on average, depending on size and location.
Rice explicitly warns DIYers against cutting dead wood.
“Dead wood reacts unpredictably because it’s lost internal moisture and fiber strength,” Rice explains. “Instead of bending and guiding the fall like live wood, it snaps and fractures irregularly. I’ve seen hinge wood crumble mid-cut and send a trunk sideways when we were clearing a yard for a putting green install.”
Also check local ordinances before you start as some cities require a permit to remove a tree on your property, and fines for unpermitted removal can be steep.
What you’ll need
Safety gear (required before you start):
- Hard hat
- Face screen
- Safety glasses
- Hearing protection
- Protective chainsaw chaps
- Work gloves and steel-toe boots
- Long pants and long-sleeved shirt
Chainsaw chaps are strictly mandatory.
“They’re designed with fibers that instantly clog the sprocket and stop the chain cold,” Rice says. “I’ve personally seen a crew member walk away from what would’ve been a catastrophic leg injury because of them.”
Tools:
- Chainsaw with a bar at least 2 inches longer than the tree’s thickness
- Felling wedges
- Measuring tape
- A straight stick the length of your arm (for estimating tree height — see Step 1)
- A long pole or stick (for your spotter’s signal — see Step 2)
Ask a friend or family member to be your second pair of eyes. They can warn you when a tree branch has snapped or when the tree is about to fall. While you are focused entirely on the cut, your spotter has a specific job.
“A good spotter should constantly watch the canopy for shifting weight, cracking sounds, falling dead limbs, or the top starting to lean opposite your intended direction,” Rice recommends. “Those early signs give you seconds to react before things go wrong.”
Step 1: Estimate the fall
Before you even turn on your chainsaw, inspect the tree. Rice tells homeowners to look for subtle clues of danger.
“Look for fungal growth at the base, soft or hollow-sounding wood when tapped, and dead branches hung up high that don’t move with the wind,” he warns. “Those are the ones that drop without warning, and I’ve seen them come down seconds after the first cut.”
A tree generally falls toward its heaviest side. If you need the tree to fall on its lighter side or against its lean, do not attempt to redirect the fall. Redirecting the fall is a job for professionals.
However, visual lean is not everything. Rice says that trees often fall opposite to expectations due to hidden factors.
“It’s often hidden weight distribution like heavy limbs on one side, saturated soil loosening roots, or even wind gusts funneling through a yard can override a slight trunk lean,” he says.
If houses, power lines, or other structures are within the radius of the tree’s height, do not cut down the tree. Hire a professional instead. Even if the tree leans away from these structures, you should still call in a pro.
How to estimate the fall
To estimate how far the tree will fall, you’ll need to know the height of the tree. But who has a ruler that big? We’ll show you how to measure the tree’s height without one.
Keep in mind that the following measuring method only works on level ground. If your tree is on a slope, you’ll need a different tree measuring method.
- Grab a straight stick that’s the same length as your arm or longer.
- Point the stick straight up at 90 degrees to your outstretched, straight arm. If the stick is longer than your arm, grasp it where the length of the stick above your hand equals your arm’s length.
- Walk backward until the top of the tree is in line with the top of the stick.
- The distance between your feet and the tree is the tree’s approximate height. This distance is likely how far the tree will land. For increased safety, keep people and pets at a distance at least twice the tree’s height.
Step 2: Plan your escape route and set a signal
Once a tree begins to fall, it falls fast. You won’t have time to scan the area and pick a safe place to run. And you don’t want to run right into the tree’s path.
Before you turn on your chainsaw, identify your escape route. The escape route should be in the opposite direction of the tree’s fall and at a 45-degree angle.
“Running straight back is dangerous because the trunk can kick back or bounce in that exact line,” explains Rice. “A 45-degree escape route gets you out of both the fall path and the recoil zone.”
Pro tip: For good measure, plan an alternative escape route. It also should be in the opposite direction of the tree’s fall and at a 45-degree angle.
Since your ears will be covered and the chainsaw will drown out noise, set a physical signal with your partner: they can poke you with a long stick or pole when there’s danger. Ensure the poking device doesn’t block you or your partner from the escape route.
Step 3: Prepare the area
Clear your escape routes and the immediate work area of debris, sticks, and anything you could trip over. You don’t want to accidentally trip on a branch as you handle the chainsaw or when you escape. Remember to clear the alternative path, too.
Read more: Yard Work Safety Tips: How to Prevent Injuries While Landscaping
Step 4: Cut the notch
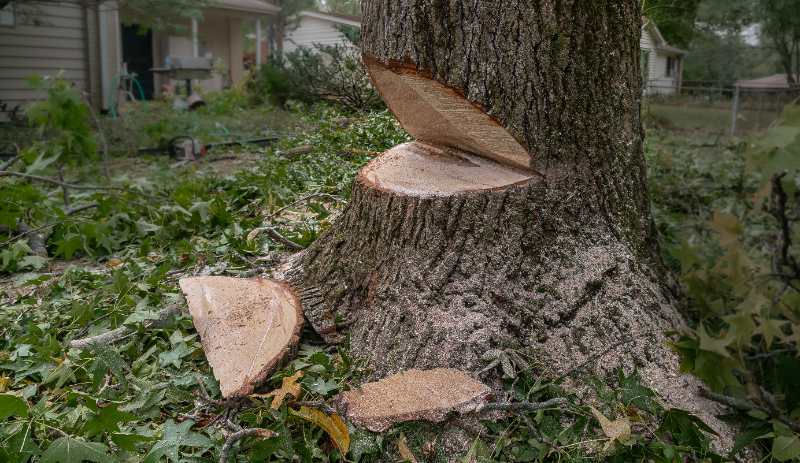
It’s finally your chainsaw’s shining moment. The notch determines the direction of fall, so it must be made on the side of the tree facing the direction you want it to go. It’s a good idea to sketch the notch on paper to have a good idea of how to execute the cut.
Here’s how to create the notch:
- Make the top cut first: angle the chainsaw downward at roughly 60 to 70 degrees into the face of the tree on the fall side, cutting to about one-quarter to one-third of the tree’s diameter.
- For the second cut, turn the chainsaw horizontal and cut straight in to meet the bottom of the first cut.
- The two cuts should meet cleanly and the wedge of wood pops free.
Step 5: Make the felling cut
Once you’ve completed the notch, you’re ready for the following:
- Move to the tree’s opposite side to begin the felling cut, which is a horizontal cut made slightly above the notch’s horizontal cut.
- Make the felling cut until there’s enough room to insert a wedge. The wedge will help prevent your chainsaw from pinching.
- Do not cut all the way through with your horizontal cut. Leave about 10% of the tree’s width between the felling cut and notch to create a hinge.
- As you cut toward the hinge, the tree will begin to fall. Quickly move away and down your escape path.
Timing your wedges is critical here.
“I set them as soon as the back cut is deep enough to hold them,” Rice says. “Usually when I’ve got an inch or two of depth before reaching the hinge. Waiting longer risks the bar getting pinched when the tree starts to settle.”
Step 6: Remove tree limbs and buck into firewood
Congratulations, you’ve cut down the tree! Now you can start limbing (removing branches) and bucking (cutting the trunk into sections).
Limbing:
- Start by removing the branches at the base of the tree.
- If possible, remove the limbs on the tree’s underside. Limbs too close to the ground can be cut later when you turn the log.
- Large branches may be under tension. Cutting them incorrectly can cause violent kickback. “For limbs under tension, I never go straight through,” Rice warns. “I make a small relief cut on the compression side first, then finish from the tension side so the energy releases gradually instead of kicking the saw back.”
Bucking:
- Find spots where the log is not touching the ground. From the top of the trunk, cut one-third of the way down. To avoid binding, offset your chainsaw by 1 inch and cut from the bottom up, all the way through.
- Next, cut areas of the log that are touching the ground. Starting from the top, cut most of the way through. Then flip the log over and finish the cut.
- When one side of the log is supported off the ground, make a shallow relief cut on the bottom (compression side) first, then finish the cut from the top (tension side) so the wood opens without pinching the bar.
With the tree removed, you’ll still have a stump to deal with.
Read more: How to Remove a Tree Stump
Keep it simple and hire a pro
The safest way to cut down a tree is to have a trained professional do the job for you.
Beware of self-proclaimed tree professionals who come knocking on your door offering their services. You’ll want to hire an insured, qualified arborist who has the latest training and knowledge on tree care. Hiring an uninsured, poorly trained individual creates a higher risk for damages, injury, and death.
Once you see how easy it is to have a pro do the job for you, why not hire a pro to do other outdoor services? Hire a local lawn care professional to cut your grass and an arborist to cut your trees. to cut your trees.
Main Image: A worker uses a chainsaw to fell a tree. Photo Credit: Pixabay
Related Posts: