Whether you like compost or worms or both, vermicomposting is an easy, affordable way to grow your own compost at home. Don’t worry, you don’t have to have land as with traditional compost. City and country folks alike can turn food waste into rich castings that will amend and add nutrients to your soil.
Vermicomposting 101
Vermicomposting is the process where worms take everyday kitchen food scraps and turn them into beneficial organic matter for your garden. How do they do it? The process is simple: Worms eat the food waste and excrete worm castings. This waste material is called vermicompost, worm compost, or worm castings and is rich in nutrients and microorganisms.
These castings, like traditional compost, act as a soil amendment to improve soil structure, add bacteria and nutrients, and help soils retain or drain water (depending on the soil type). Castings are a natural form of aeration for clay soils and help sandy soils retain water. Well-structured soils are a key component of healthy plant growth.
It’s a good idea not to rely solely on worm castings for nutrition if you have specific nutrient deficiencies in your soil. You may need to add other fertilizers based on your soil test results.
Benefits of vermicomposting
Worm composting, like so many garden activities, is both useful and fun. Vermicomposting appeals to people with a wide spectrum of goals:
Green-thumbed city dwellers: If you’re a city dweller who pines for a little more dirt underneath your fingernails, vermicomposting may be just the thing for you. It’s perfect for apartment dwellers who want a homegrown supply of fresh organic material for their balcony garden or indoor potted plants.
Environmentalists: Did you know that in 2017, 75% of food waste that could have gone to the compost pile went to the landfill instead? Environmentalists see a big opportunity in vermicompost bins. With a simple bin, everyone — apartment dweller or homeowner — can reduce the food waste that ends up in landfills by having worms do the work instead.
Vermicompost is also a form of organic fertilizer, which many environmentalists prefer over traditional chemical fertilizers.
Gardeners: If you’re a gardener, you can’t have too much compost. What you might be short on is space. Not every lawn is ideal for regular composting bins, and some HOAs restrict their use. In any case, most people can find room underneath a sink, in the basement/garage, or even a closet to fit a small worm bin.
If you’re short on indoor space, you can put the bin outside as well. Keep outside bins between 55 to 85 degrees F.
Insect, reptile, or worm-eating animal enthusiasts: Most enthusiasts use worms for gardening, but if you love insects or have worm-eating pets such as reptiles or chickens, this may be a hobby for you. Vermicomposting requires a small investment up front, but after your initial outlay, the only things you’ll “invest” are food scraps and bedding to dump in the bin. They do the rest!
If you are a reptile or chicken owner, this approach is much cheaper than continually buying new worms to feed to your animals.
What you will need
A bin: Plastic tubs and styrofoam coolers are the most popular for a home setup.
Worms: Start with about 1,000 red wiggler worms, which is 1 pound or so. Most people buy them online or get some from a friend. Make sure the seller has a long track record of happy customers for the best results.
Bedding: Shredded newspaper is the most popular material. Coco coir and peat moss are other options.
Kitchen scraps: Anything you would put in a compost bin: vegetable and fruit scraps, peels, ends of potatoes, fruit cores, etc. No meat, dairy, oil, or fats.
How to vermicompost in 6 easy steps
There are many different ways to set up a vermicompost bin. The easiest way is to buy one already manufactured for you. If you’re more of a DIYer, vermicompost bins are one of the cheapest, easiest types of compost bins to set up. We’ll go the DIY route here.
Step 1: Set up your bin
Vermicomposting is not done in a pile of leaves and kitchen scraps outdoors like traditional compost. If you want to start a vermicompost bin, you’ll need a tub to start.
Tub: Most people use a plastic or styrofoam tub or bin. Your tub should be a solid color (not clear) since worms like to live where it’s dark. To maintain air circulation, drill pencil-width holes in the lid and around the sides of the bin near the top.
Note: If you keep the bin outside, don’t drill holes in the lid. Holes on the lid of the bin could allow rainwater in, which you don’t want.
The Rodale Institute recommends a larger-sized home bin that is 24 inches by 18 inches by 18 inches. If you plan to start small, go with a more shallow bin; if you want room to grow, select a deeper bin.
Step 2: Fill your bin
Bedding material: Shredded newspaper, coco coir, and peat moss make good bedding materials for the worms. Composted manure and shredded office paper also work. Whichever material you choose, moisten it so it has as much moisture as a wet sponge. If you squeeze your bedding, you may have a few drops of water fall, but it should not be dripping.
Add 8 inches of the moist worm bedding to the bin. Fluff it so there is plenty of room for air to circulate. Then, incorporate a handful of soil from the garden or some potting mix. This adds grit, which helps the worms digest their food.
Step 3: Drop in the worms
Red wigglers (Eisenia fetida or Eisenia foetida) are the most popular composting worms. Experts recommend starting with 1,000 red wiggler worms, which is about one pound. You can buy them online or look on an online marketplace for freebies.
Note: Don’t try to dig up earthworms from your garden. These worms prefer to live in the soil and don’t process as much organic waste or reproduce as quickly as the red wigglers.
Step 4: Feed your worms
Feed your new worms the kitchen waste once per week. Start with one-half pound of food per pound of worms. Don’t overfeed. The bacteria need time to grow. Too much food will result in a smelly bin. If you can’t find any traces of food at their next feeding, gradually increase the amount of food.
As you add food, bury it underneath the bedding material to discourage other insects and odors. Many people put the food on one side of the bin (left or right) one week and the other side the next week. This makes harvesting worm castings easier.
| What to feed your worms | What NOT to feed your worms |
| ✓ Fruits ✓ Greens ✓ Veggies ✓ Coffee grounds ✓ Peels ✓ Eggshells ✓ Grains and pasta ✓ *Tea bags | ✗ Onions, garlic, or anything from the onion family ✗ **Citrus ✗ **Meat ✗ Fatty foods, oils, or fat scraps ✗ Bones ✗ Processed foods ✗ Dairy products ✗ Pet manure ✗ Peppers |
*Experts are divided
**Some say these foods are okay in limited amounts
Step 5: Harvest your worm castings
The end product of the composting process should be dark and fluffy.
Method #1: The easiest way to harvest your worm castings is to alternate which side you feed the worms on each week. The worms migrate to the side where you place the food. When you go to harvest the castings, most of the worms should be on only one side of the bin. Dig out the castings from the other side.
Method #2: Another easy way is to remove the top third of the bin material, which is where the worms and the food live. (Red wigglers are not deep diggers; they stay within the top few inches of material.) The rest of the material should be mostly castings. Dig this out, then add new bedding, and return the worms to the bin.
Method #3: This is called the “banana method.” Stick a half-brown banana in the bin the week before you plan to harvest your castings (with no other food added that week). The hungry worms will gravitate to the banana, and when you go to harvest the following week, just pull out the banana along with all the worms. The castings will remain.
Once you’ve dug out the finished compost, use a screen to sift out the castings from any bits of food that may be undigested. It will take around three to six months until your first harvest.
Step 6: Maintain your worm bin
There are a few things to watch for:
Moisture content: Worms are like Goldilocks: They like their home neither too wet nor too dry but just right. A bin that is too dry may kill off some of the worms or attract ants. If the material is too wet, this also can kill the worms or cause a bad smell.
Airflow: Insufficient airflow also can lead to a foul odor.
Insects: If there are ants, the bedding is too dry, so add a little more water. If there are flies, cover the food in the bin completely and try adding less fruit if you see fruit flies.
FAQ about vermicomposting
As we mentioned above, it shouldn’t. If it does, there’s a problem. Foul odors happen if the bedding is too wet, either from water or excess food, or if there is not enough airflow. Increase the dry bedding, reduce the food, or add more air holes.
As long as conditions are ideal, no. If they try to escape, it means there may be too much food, which can produce ammonia, or too little air. Excessive heat also may be an issue. The solutions are simple: remove excess food, add more air holes or gently aerate the bin with a trowel, and bring the bin inside or to a shady location.
Your worm population can double every two months. Worms usually self-regulate their reproduction. If the bin gets too crowded, reproduction will decrease, and some may die. If your bin starts to get a little full, there are a few things you can do:
—Start a new bin
—Give extras to a friend
—Feed some of the worms to your reptiles or chickens
—Go on a fishing trip
If your new worm hobby has you all tied up, contact one of our local lawn care experts. They’ll take care of your lawn while you take care of your worms.
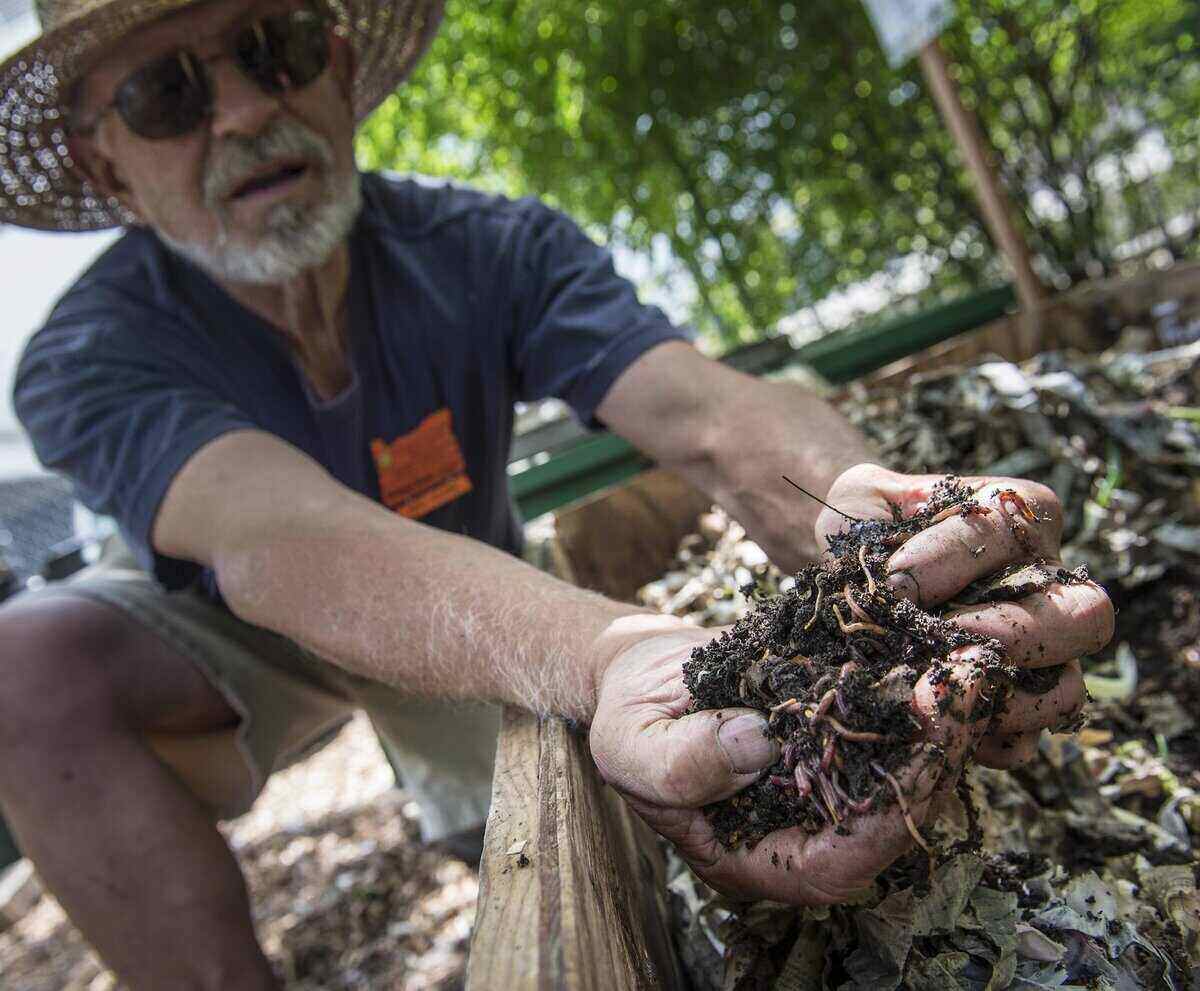
Main Photo Credit: Oregon State University | Flickr | CC BY-SA 2.0