There’s nothing better than sleeping in knowing your sprinkler system is handling all your irrigation needs, but it’s important to make sure you’re performing regular maintenance checks. The right care will ensure your system does its job well for a long time to come.
What can happen if you don’t maintain your irrigation system?
- Higher water bills and water waste
- Soggy lawns that are prime spots for pests and disease
- A system that doesn’t hold up to normal wear as long as it should
You’ll save money and time in the long run by knowing how to properly clean and monitor your sprinkler system. Not to mention, your lawn will thank you by staying green and lush.

1. Clean your sprinkler system
Before you can assess anything, give your system a thorough cleaning. That way, you can eliminate the possibility of clogged sprinkler heads or trapped debris causing problems.
Sprinkler systems should be cleaned at least twice a year. It’s especially important to get rid of clogs before storing your system for the winter, so schedule your two cleanings for late fall and late spring.
How to clean your sprinkler filters:
- Step 1: Grab the sprinkler tip and pull it up.
- Step 2: Clamp a vice grip onto the shaft of the sprinkler tip so it doesn’t fall back in.
- Step 3: Unscrew the top to remove the filter. You might need needle nose pliers or a straightened paper clip to pry the screen out.
- Step 4: Swish the screen in water to rinse it off, then scrub it with a toothbrush to get out all the sand and debris.
- Step 5: Re-install the filters once clean.
How to clean your sprinkler heads:
- Step 1: Detach the spray head by turning it counterclockwise. Lift it off the sprinkler body.
- Step 2: Place the sprinkler head in a bucket filled with water.
- Step 3: Pour rust remover over the sprinkler head. This will help break down calcium and other mineral buildup that collect from your water supply.
- Step 4: Soak the sprinkler head for 30 minutes.
- Step 5: Scrub off any remaining buildup with a brush, then rinse it with clean water.
- Step 6: Before replacing the sprinkler head, grease all the moving parts with a lubricant (like WD-40) that will help prevent buildup.
How to clear out the valves:
- Step 1: Turn the sprinkler head counterclockwise to detach it, then turn the valve on for about 5 minutes. This will flush the system and clear out the valves.
- Step 2: Replace each sprinkler head after.
Pro Tip: Mark the nozzle’s position with a grease pencil so you don’t have to work from memory.
When you’re done, don’t forget to wipe out your sprinkler controller box. You definitely don’t want any pests (like bees) making a home in there!

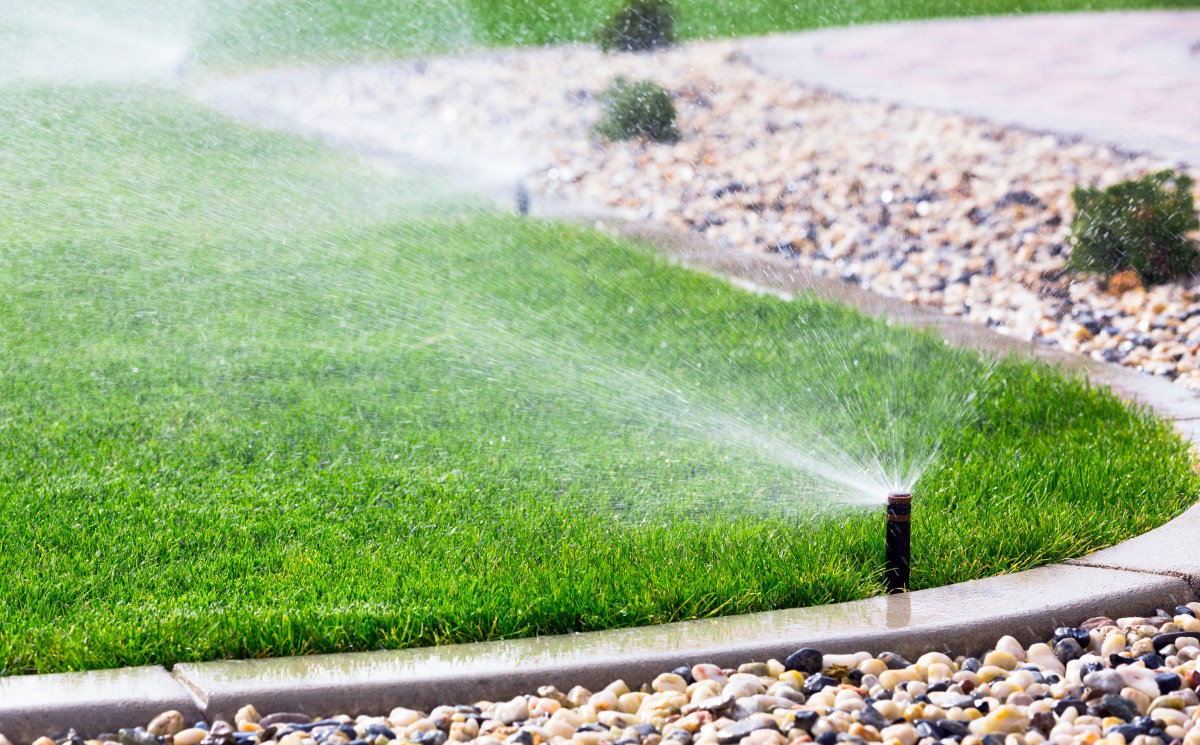
2. Look for problems
Most homeowners set their sprinkler system to go off in the early morning, which means it’s easy to miss any signs of malfunction. You can start by turning your sprinkler system on manually and assess the spray pattern. Look for any sprinkler heads that spray unevenly or not at all.
If your sprinkler heads are in the ground, make sure they’re not obstructed by dense grass or weed growth. Give the area around them a trim with shears.
Your first step once you locate the problem should be to adjust your sprinkler heads, an easy DIY task. If there’s still a problem with water flow and you’ve already adjusted the heads and thoroughly cleaned your filter screens, you may need to replace the sprinkler heads.
Signs of sprinkler head damage include:
- Wild streams of water
- No water flow
- Damaged plastic casing around the sprinkler head
- Broken spray nozzle
The next thing you want to look for are any signs of water runoff or leakage.
Signs of leaky sprinkler heads include:
- Puddles on your driveway
- Soggy grass
- Eroding soil
If you see pooling water after running your system, it could mean your soil contains clay or sand. For sandy soil, divide your watering time into two periods during the day. For clay-heavy soil, reduce the pressure of your sprinkler heads so you can water at a lower rate over a longer period of time.
Pro Tip: Make sure you’re also choosing the right sprinkler system for your particular lawn.

3. Turn sprinkler heads
You might find that some of your sprinkler heads are simply pointed in the wrong direction. In that case, you’ll need to adjust them. Different types of sprinkler heads require different steps. You most likely have a stationary, rotor, pop-up, or pulsating head.
Adjusting a stationary sprinkler head: At the top of the nozzle, you’ll see the spray radius adjustment screw. You can move that to point in the direction you want. To lower the water pressure, turn the screw clockwise.
For pop-up sprinkler heads, you have to adjust it while the sprinkler is on. Use a flat-head screwdriver to turn the adjustment screw at the top of the nozzle. To decrease how wide it sprays, turn the screw clockwise. To increase the width, turn it counterclockwise.
Rotor sprinklers have nozzles that are stationed in place with a set screw. Protocol for adjusting these varies, so check your instruction manual to make changes to the spray arc or amount of water released.
Changing pulsating sprinkler heads doesn’t require any tools. To change the speed of the water output, push the tabs on the nozzle to the desired level.

4. Try the tuna can test
Most people don’t know how much water their sprinkler system actually puts out. This can lead to higher water bills and an overwatered lawn. Fortunately, there’s an easy way to measure your sprinkler’s output.
All you need is six tuna cans or similarly sized cans.
How to do a tuna can test:
- Step 1: Place the six cans in different areas of your lawn within range of your sprinkler’s spray.
- Step 2: Run your system for 15 minutes.
- Step 3: Using a ruler, measure the depth of the water in the cans. Calculate the average between them by adding them together and dividing by six.
- Step 4: Read the table below to figure out how many minutes you should set your system to run per week.
| Average water depth after 15 minutes | Total minutes needed to water 1 inch |
| ⅛ inch | 120 |
| ¼ inch | 60 |
| ½ inch | 30 |
| ¾ inch | 20 |
| 1 inch | 15 |
1 inch of water a week is recommended as a general rule to maintain a healthy lawn, but that doesn’t account for seasonal changes or rain. See our tips below for adjusting.

5. How thirsty is your grass?
Water needs aren’t one size fits all. If you’re mainly watering turfgrass, the first step is knowing what kind of grass (or grasses) you have.
Cool-season grasses grow in the fall. The common ones are Kentucky bluegrass, bentgrass, tall and fine fescue, and ryegrasses. Warm-season grasses grow in the summer and include bermudagrass, buffalograss, centipedegrass, St. Augustinegrass, and Zoysiagrass.
While grass is actively growing, it uses more water. On the flipside, during a drought or dormant periods, it needs less. The usual rule of thumb is that turfgrass likes deep but infrequent waterings. How often you water depends on the soil type, rain, and season.
Some irrigation systems have a controller that makes automatic seasonal adjustments, decreasing water output as the weather gets colder. If you need to change yours manually, refer to the chart below.
| Months | Recommended sprinkler capacity |
| July, Aug., Sept. | 100% |
| Oct., May, June | 80% |
| Nov., March, April | 50% |
| Dec., Jan., Feb. | 20% |

6. Listen to your grass
The best judge of your irrigation system is your grass. A healthy lawn means things are going well. Wilting, curling, or brown leaves mean there’s a lack of water; soggy grass or fungal diseases might mean there’s too much water.
Get to know your sprinkler system so you’ll notice when something’s off. You’ll be rewarded with a five-star lawn and water bill.
Remember, you can always ask for help. Whether it’s an annual tuneup or installing a brand new system, Networx landscaping professionals can assist you with all your lawn care needs.
And once your grass starts growing after being watered by your well-maintained sprinkler system, turn to one of our Lawn Love lawn care pros to mow and edge your yard.
Main photo credit: Aqua Mechanical | Flickr | CC BY-SA 2.0
Lawn Love participates in Rain Bird’s affiliate program.