| Key takeaways |
|---|
| • Test your soil pH before you dig to avoid adding the wrong amendments. • The no-dig method is easier for beginners and avoids stirring up buried weed seeds. • Keep beds 3-4 feet wide to avoid stepping on and compacting the soil. • Mulch right after planting to suppress weeds and lock in moisture. |
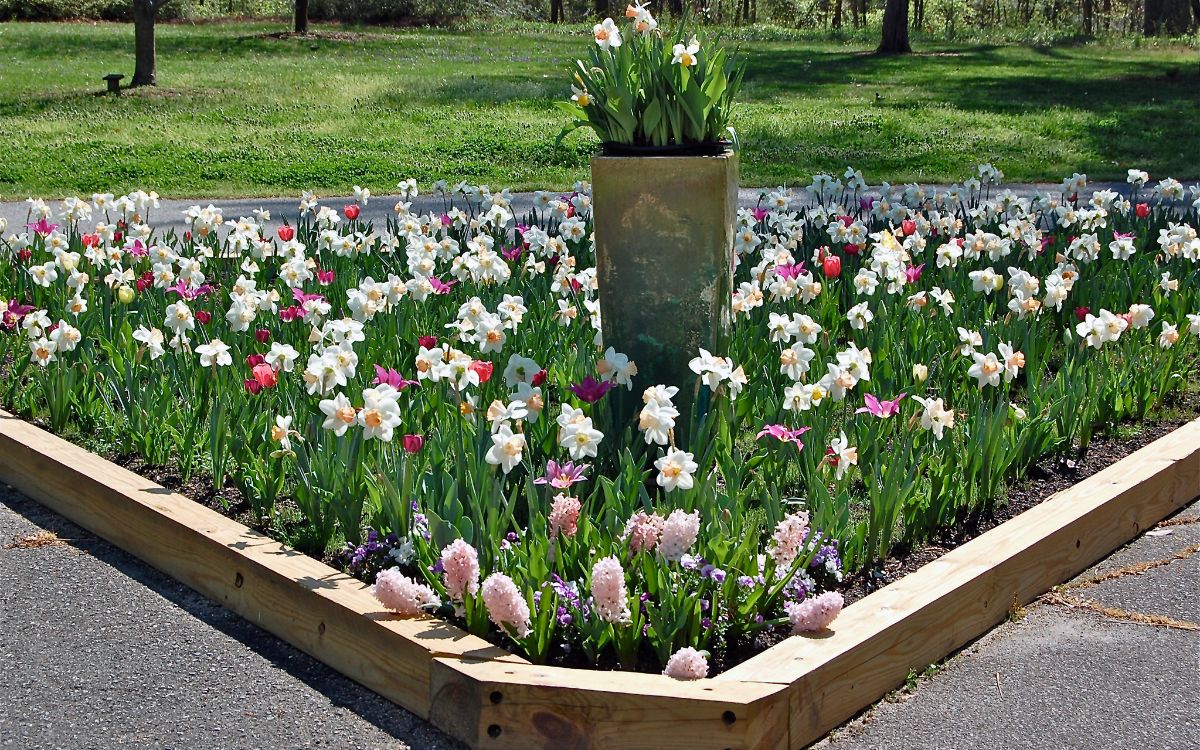
To prepare a new flower bed, choose a sunny spot with good drainage, test your soil, remove existing grass and weeds, dig about 12 inches deep, and amend the soil with compost before planting. It sounds like a lot, but broken into steps, it’s a manageable weekend project, and getting the foundation right makes every season easier.
If you’d rather have a professional handle the prep and planting, Lawn Love’s gardening pros can help.
How to test your garden soil
It’s usually a good idea to have the soil tested by your local Extension Service before the flower garden bed is dug. The test will tell you what nutrients the soil has, and which soil amendments need to be added, such as nitrogen. The test also will tell you what the soil pH is.
The pH indicates whether the soil is alkaline or acidic:
- Alkaline is 7.1 to 8.0
- Neutral is 7
- Slightly acidic is 6.1 to 7
- Acid soil is 5.1 to 6.0
- Very acidic soil is 3.0 to 5.0
Most plants do fine in the neutral range. However, some plants, such as rhododendron, need acidic soil. And lavender does best in alkaline soil.
If a plant is growing in soil that is not the correct pH, it is unable to take and process the nutrients it needs to thrive. Urban areas may also want to get their soil tested for lead.
Kevin Thompson, owner at Sylvan Scapes and an ISA Certified Arborist serving Virginia’s Shenandoah Valley since 2003, sees this frequently.
“I’ve seen homeowners in Augusta County lose entire beds because they didn’t realize our limestone-heavy soil often sits at a high 7.5 pH,” Thompson explains. “I recommend using a Luster Leaf Rapitest kit to avoid ‘nutrient lockout,’ where your plants are chemically unable to absorb the nutrients in the soil.”
Beyond plant health, testing your soil protects your home’s foundation. Victor Coppola, founder and principal at GreenWorks Environmental, in Wall Township, NJ, looks at soil through the lens of how it impacts the indoor environment.
“Skipping a soil test often leads to planting over high concentrations of iron bacteria, which can create rust-colored stains and foul odors that migrate toward your home’s foundation and sump pump,” Coppola warns.
Choosing the right location
Most sun-loving plants do best in at least 6 hours of direct sun a day. Part‑shade gardens do well with 3-6 hours of direct or filtered sun.
Flat ground is best. You don’t want an area that holds water after a rain. However, having a water source nearby is good.
Avoid planting under trees, where their roots compete with plants for water and other nutrients. Most tree roots are in the top 18-24 inches and extend beyond the dripline, rather than growing straight down.
Pro tip: If this is your first flower garden, start small. You don’t want to lose interest because you can’t keep up with weeding or watering. You can always expand the bed as you become more experienced.
Tools you’ll need
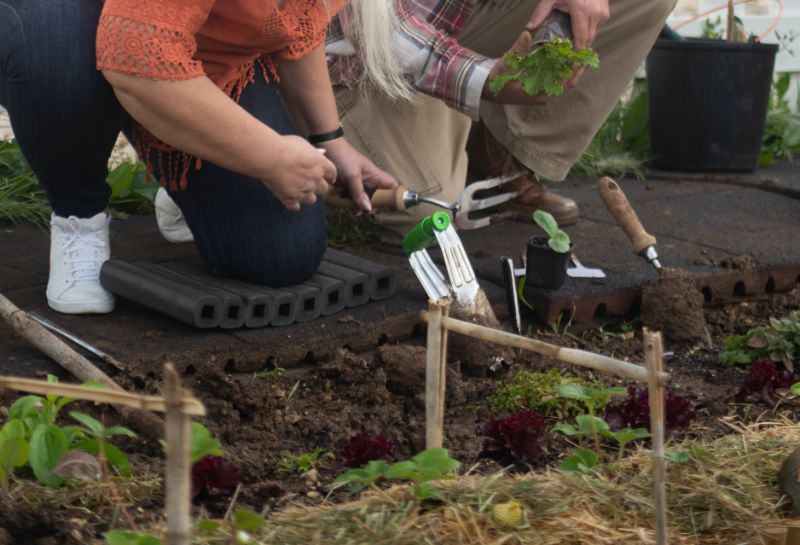
You don’t need much to get started:
- Shovel (rounded tip) for general digging
- Spade (straight edge) for cutting clean edges, removing sod
- Garden fork for breaking up hard or dense soil
- Trowel or garden knife for planting perennials, annuals, and bulbs; doubles as a weeder
- Stirrup hoe or traditional hoe for weeding
How to prepare soil for a flower bed
Follow these steps to prep an in-ground flower bed:
1. Plan the dimensions. Keep the bed 3 to 4 feet deep (front to back) so you can reach in without stepping on the soil because foot traffic compacts soil and restricts root development.
2. Remove grass and weeds. Scrape the top inch or two with a sharp spade or shovel. For a large area, rent a sod cutter. Avoid turning grass back into the soil because you risk sprouting unwanted seeds. An herbicide is another option; always read and follow the label.
3. Dig. Turn the soil about 12 inches deep (roughly the depth of a shovel blade). Use the blade or a hoe to break up clumps into pea-size pieces, or use a rototiller to speed up this work on large beds.
4. Add organic matter. Scatter a 2- to 3-inch layer of compost, chopped leaves, well-rotted manure, or untreated grass clippings over the soil, then lightly work it in. Organic matter adds trace nutrients, improves soil structure, and feeds the microorganisms that keep soil healthy.
Soil amendments by soil type
| Soil problem | What to add | Why |
| Clay soil (poor drainage) | Compost or other organic matter | Breaks up dense structure; improves drainage |
| Sandy soil (dries out fast) | Compost or peat moss | Helps retain moisture and nutrients |
| Low nitrogen | Balanced fertilizer or compost | Fuels plant growth |
| Too acidic (below 6.0) | Garden lime | Raises pH toward neutral |
| Too alkaline (above 7.5) | Sulfur or peat moss | Lowers pH toward neutral |
When amending heavy clay soil, many homeowners make a critical error.
“The biggest mistake with our local clay is adding sand, which creates a concrete-like texture,” Thompson says. “Instead, incorporate Permatill expanded slate to physically break up the soil and provide permanent drainage.”
No-dig method

Now you’re ready to prep your garden:
- Before spreading the planter’s mix, place 3-4 sheets of newspaper or a single flattened brown paper bag on top of the grass or weeds.
- Spread a 10- to 12-inch layer of planter’s mix on top. Planter’s mix is a blend of topsoil, compost, and organic matter suited to your area. Give the supplier your bed dimensions, and they’ll calculate how many yards you need.
- The paper smothers weeds and grass and gradually disintegrates. No need to worry about lead-based ink contaminating the soil because today’s publishing companies use soy-based inks.
According to Oregon State University Extension, this method conserves water, helps prevent soil erosion, and dramatically reduces weeding. It works equally well for raised beds.
Another benefit of using the no-dig method is that you’re not breaking into the weed seed bank –all kinds of seeds that have been underground for years. Digging and exposing the seeds to light and water prompts germination, which may result in a weedy bed.
What to plant in a new flower bed
Now that your soil is prepared for your new flower bed, start looking for plants. Flower beds can have plants blooming year-round. It just takes a little research.
You want enough variety so that there are flowers most of the time. Native plants are best for supporting pollinators. Buy transplants from a garden center when possible, and match plants to your sun exposure and hardiness zone before you buy.
For annuals, apply an all-purpose fertilizer according to label directions. Perennials and bulbs don’t usually require much fertilizer during the growing season. Mix a granular product, such as Espoma Flower-tone, in the top inch around the bases of perennials in spring.
Here are a few flower suggestions:
| Season | Bulbs | Perennials | Annuals |
| Spring | Daffodils, tulips | Columbine, woodland sedum | Pansies, violas, snapdragons |
| Summer | Lilies | Coneflowers, black-eyed Susan, garden phlox | Cosmos, flowering tobacco |
| Fall | Saffron, colchicum | Asters, mums | Pansies, ornamental cabbage, kale |
How to plant a new flower bed
Once you have selected your flowers, arrange them in your prepared bed while they are still in their pots to finalize your design. When you are happy with the layout, use your trowel to dig a hole slightly wider and at the same depth as the plant’s root ball.
Gently remove the plant from its pot, massage the roots to loosen them, place it in the hole, and fill it in with soil, pressing down lightly to remove any air pockets. Water immediately after planting to settle soil and reduce transplant shock.
How to water a new flower bed
Now that your flowers are planted, it’s time to water. If hand-watering, use a showerhead nozzle on your hose. Spray the water at the base of the plant. Water new plants every couple of days until they are established. Water about once a week as needed if it doesn’t rain.
How do you know when you can start watering less frequently? “A plant is truly established when you see significant ‘terminal extension,’ or healthy new growth at the branch tips,” explains Thompson. However, if you see “scorched leaf margins,” Thompson says that this is “a clear indicator that the root system is failing,” and you need to water more deeply.
You should also look out for pests. “You’ll know a plant is struggling if you see an influx of springtails (tiny, moisture-loving insects), which indicate the soil is over-saturated and beginning to rot,” Coppola says. “These insects are a ‘canary in the coal mine’ signaling that your new bed is becoming a microbial breeding ground that could compromise your home’s indoor air quality.”
Your irrigation system should be set to a different rate and frequency from the lawn. Flower beds often do best with less frequent but deeper watering than the lawn, so put them on a separate irrigation zone and adjust the schedule to your plants and soil.
How to mulch a new flower bed
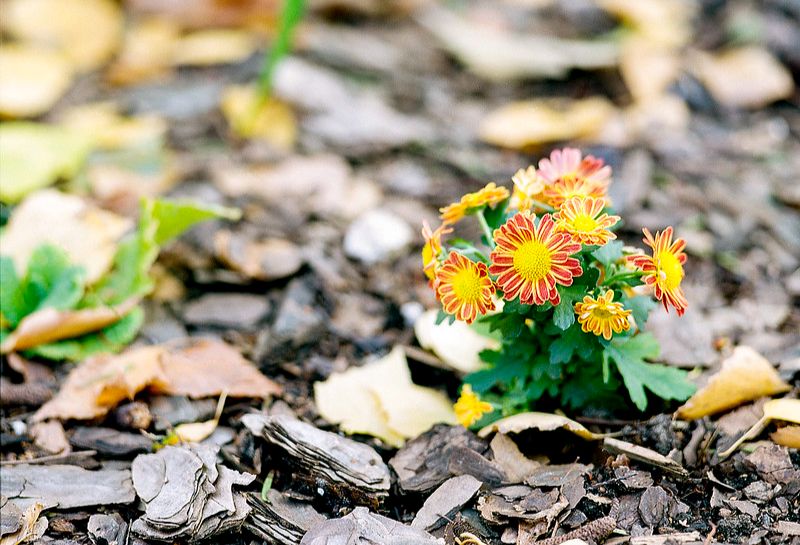
Mulch right after planting. It’s one of the best things you can do for a new flower bed. A layer of organic mulch suppresses weeds, retains moisture, and gradually breaks down to improve soil quality.
Organic materials are the most popular, including shredded bark or wood chips, pine needles, chopped leaves, compost, and rotted manure.
“When applying organic mulch, avoid ‘volcano’ piling against the plant base, as this suffocates the root flare and invites wood-boring insects,” Thompson advises.
Coppola says that piling mulch against your house is just as dangerous.
“Piling mulch directly against the building envelope is a major mistake that creates a bridge for moisture and microbial growth into your wall cavities,” he explains.
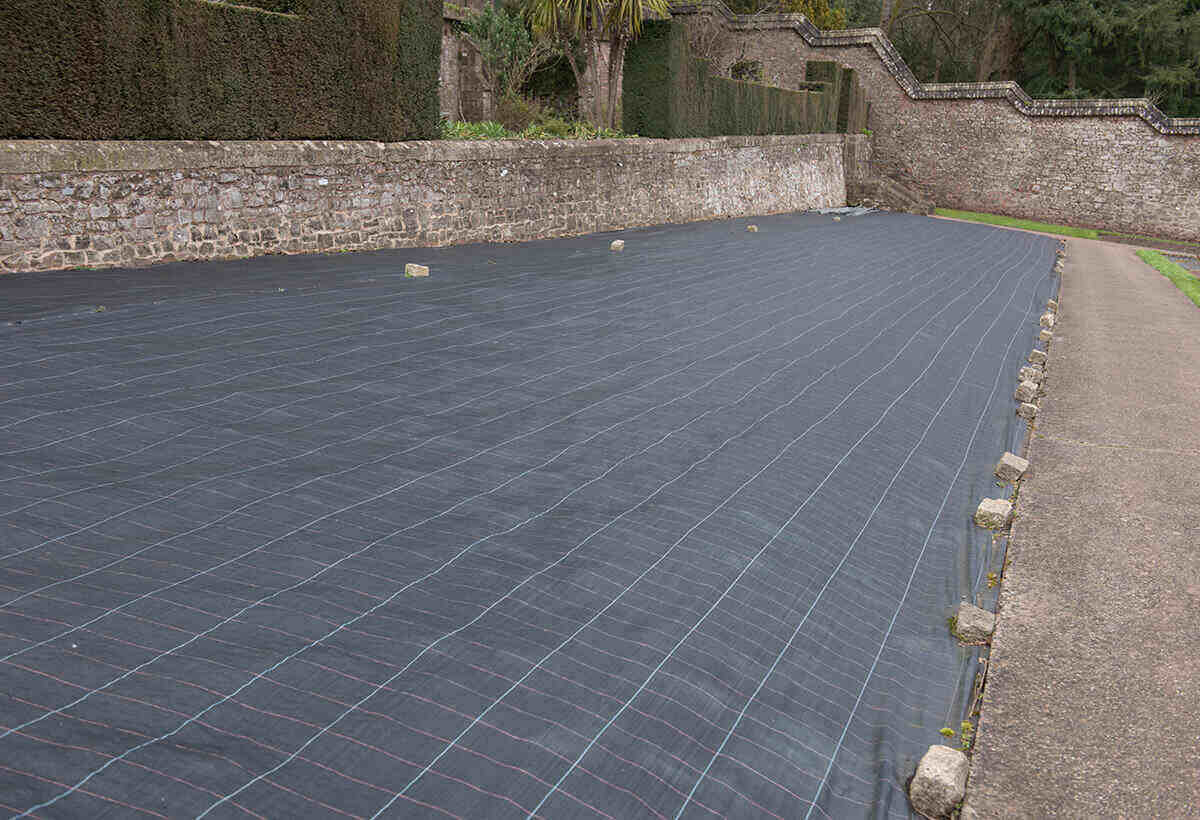
Don’t bother laying landscape cloth in flower beds. It’s difficult to plant through landscape cloth, and it does not deter weeds. Thompson strongly advises against landscape fabric because “it creates an anaerobic environment that prevents vital gas exchange and kills the beneficial earthworms needed for long-term soil health.”
Gravel or various kinds of rock can be a mulch, too. Keep in mind that rocks reflect heat up to the plants, possibly drying out leaves. Also, gravel and rock are hard to move if you want to change plants around.
FAQs
Spring and fall are both good options. Fall prep, digging and amending the soil before the ground freezes, gives organic matter time to break down over winter so your bed is ready to plant as soon as the ground warms in spring. Spring prep works fine too, especially with the no-dig method.
In-ground beds use your existing soil (amended as needed) and cost less to start. Raised beds use fresh planter’s mix, drain better, warm up faster in spring, and give you complete control over soil quality. It’s a great option if your native soil is very poor or compacted.
Mulch is your best defense. A 2- to 3-inch layer of organic mulch suppresses most weeds before they start. The no-dig method also helps by avoiding the weed seed bank underground.
Lay the groundwork for a gorgeous garden
A beautiful garden starts with the proper foundation, and that means the flower bed itself. Testing and prepping the soil helps plants absorb and process the nutrients they need to thrive.
If you need help, Lawn Love offers a deep roster of yard care professionals who can advise you and help you create and maintain your garden.
Main Image: Raised flower bed with spring blooms. Image Credit: Barbara Hobbs / Flickr / CC BY 2.0
Related Posts: