
Perhaps you just bought a home and want to start a new garden, or you’re revamping an old lawn or garden and want to start with clean soil. Some people swear by the solarization process. Here, we’ll discuss what solarization is and how to do it.
In this article:
What is solarization?
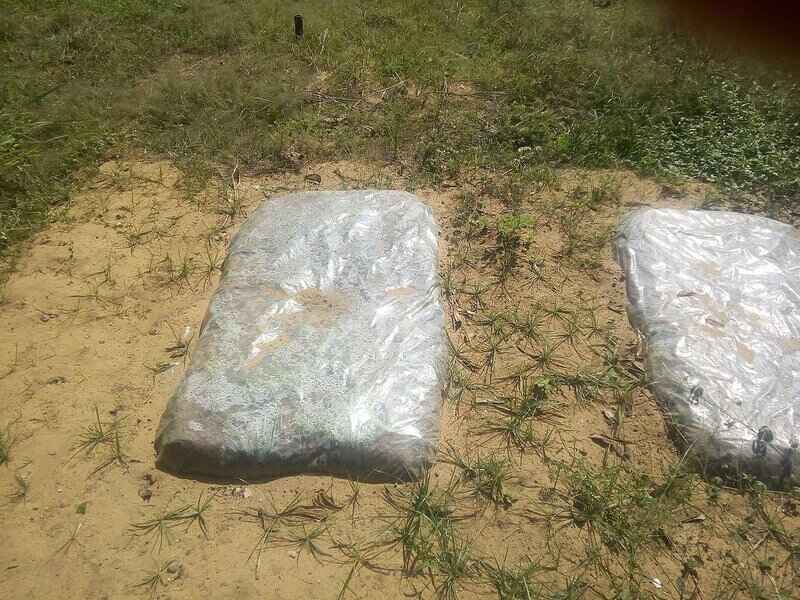
Solarization is a pretty simple concept: You cover an area with a sheet of plastic for six to eight weeks to heat the soil underneath until temperatures are lethal to diseases, weeds, and some insects. Researchers at University of Florida Institute of Food and Agricultural Sciences say most organisms in the soil are negatively affected when temperatures reach 102 to 104 degrees Fahrenheit, and solarization can generate temperatures under plastic upwards of 140 degrees.
During solarization, some of the targeted organisms may die within the first few days, but others can take longer, which is why you should solarize for at least six weeks. The hotter the better for optimum pest control. The best time to do this is in the summer when the sun is hottest.
Solarization also improves soil by speeding up the breakdown of organic material. This process releases nitrogen, calcium, magnesium, potassium, and fulvic acid that are critical for plant growth.
The effects of solarization
Solarization is most effective at killing pests, plant diseases and weeds in the top 6 to 12 inches of soil. Here are some of the organisms it will target:
Pests
Solarization can kill off some species of nematodes, although it is not as effective on these tiny creatures as it is on fungus, bacteria and weeds. Nematodes are mobile and able to dig deeper into the soil to escape the heat, so solarization is best to prep gardens for short-season plants with shallow root systems.
Diseases
Solarization controls fungal and bacterial plant pathogens in the soil. There are a few heat-tolerant fungi and bacteria that do not respond as well to this process, but common pathogens that solarization does effectively control include:
Weeds
Some species of weeds succumb easily to solarization, while others resist fairly well. The key to eliminating weeds is to ensure the soil is moist, that the plastic fits snugly to the ground and that you’re optimizing the sun’s heat by solarizing in the hottest part of the year.
Good organisms
Unfortunately, many beneficial organisms also die during solarization. Some of these feed on bacteria and fungus that are detrimental to plants. Scientists have discovered, however, that the good organisms recolonize the soil pretty quickly after solarization.
Materials you’ll need

Plastic
Plastic is the key ingredient in solarization, and, fortunately, inexpensive painter’s plastic will usually do the trick. There are a couple of things to know about the plastic, however:
- Black plastic has proven less effective than clear plastic in hot climates because it reflects some of the heat, while clear plastic allows the sun’s rays to penetrate and heat the soil. In cooler or coastal areas, black plastic may be preferable, however, because weeds won’t grow underneath like they will under clear plastic.
- Large-scale soil solarization will require plastic treated with ultraviolet inhibitors, but a one- to four-millimeter roll of painters plastic will do just fine for smaller beds. Thinner plastic allows the sun to penetrate better but is more susceptible to tearing and wind damage. Cloudy, milky, or translucent plastic reduces solar energy transmission.
- Double-layered plastic can be useful in smaller areas or cooler climates as it has been shown to raise soil temperatures 2 to 10 degrees higher than a single layer of plastic. Ensure that there is ample air space between the two layers by securing PVC pipes or plastic bottles, firmly holding the top layer.
Thermometer
Time and temperature determine how effective your solarization will be, so it’s important to check the temperature every so often. Use a soil thermometer to ensure the temperature is at or above 110 to 125 degrees Fahrenheit.
Tilling equipment
You’ll need a hoe or spade to break up the ground if it’s a small area, or a mechanical disc or rototiller if it’s a larger area.
Rake
You’ll want to smooth the ground with a rake after it’s broken up.
How to solarize, step by step
- Break up the soil in the area that you want to solarize. This can be done with a disc on the back of a tractor, using a rototiller, or by hand with a spade.
- Remove debris like rocks and limbs.
- Smooth out the surface so the plastic conforms snugly to the ground.
- Leave a slight hump in the middle so rainwater drains off to the sides and doesn’t puddle on the plastic.
- Moisten the top 12 inches of soil. Moist soil conducts heat better. Do not drench it, however. You don’t want it to become muddy. Larger areas should be moistened prior to laying your tarp, but smaller areas can be watered after the tarp is laid down by placing a soaker hose or drip tape under the tarp. If wetting your soil before laying your tarp, make sure to immediately cover the area to reduce evaporation.
- Lay your plastic sheet over the soil and stake it into the ground so it doesn’t come loose or blow away in heavy winds. If you don’t want to stake it, you can dig a trench around the edges of your plot four to six inches deep. Bury the edges of the plastic in the trench and pack the edges into the soil to fully secure your plastic.
- Wait six to eight weeks and remove the plastic.
Pro Tip: Raised garden beds should be laid north to south rather than east to west to ensure uniform heating throughout.
Frequently Asked Questions
A: You really just need a good piece of plastic tarp for the solarization process, and perhaps a machine to till your soil, as well as irrigation to thoroughly wet the area before laying your tarp.
A: Soil solarization is a non-chemical method of pest management, using polyethylene, solar energy, and moisture to kill unwanted weeds, plant pathogens, nematodes, and insects that have populated in your soil.
While the solarization process requires little work and a lot of reward, it can be a daunting task like most garden chores. For assistance, reach out to one of Lawn Love’s lawn care professionals to ensure any soil-borne diseases and pests are controlled properly and effectively.
Main Image Credit: Felix Wong